
To VOID a payment follow the steps below:
Login to the Payments Portal (click here to log in)
On the Payments Dashboard click on on the payment that you would like to void
The status of the transaction must be Authorized in order to VOID the payment . The transaction will remain in Authorized status- until the VOID Window closes.
The standard VOID window closes each day at 11:00 PM local time. Any payment completed after 11 pm local time will then carry over to the next business day.

Within the Payment Details, click on Void on the upper right hand side of the Payment Details.

Next, enter a reason for voiding the payment.

Select Void to finalize voiding the payment.

You may also Void a payment(s) from the Batches tab found on the left hand side of the payment portal menu bar. See the steps below:
How to Void Payments From Batches
Login to the Payments Portal (click here to log in)
On the Payments Dashboard click on on Batches found in the left hand menu bar

Once you have clicked on Batches, you will see the last 7 days of batching data.
Click on the transaction batch that is ACTIVE.
If a Batch ID status is Unprocessed or Completed then voiding will not be possible- meaning the option to VOID (or VOID Window) is closed.

Within the Batch Details you will see the individual payments within the batch.
To void a payment, simply click on the checkbox next to the payment that you would like to void.
Please note that that the "Payment Total" amount won't necessarily match your daily payout.

Once you have clicked the checkbox next to the transaction (or transactions) that you want to void, you can go ahead and click on the Void Selected button.

Continue and click Confirm to void the selected transactions.

After clicking on Confirm go ahead and return to the Payments Dashboard by clicking on Payments on the navigation bar.

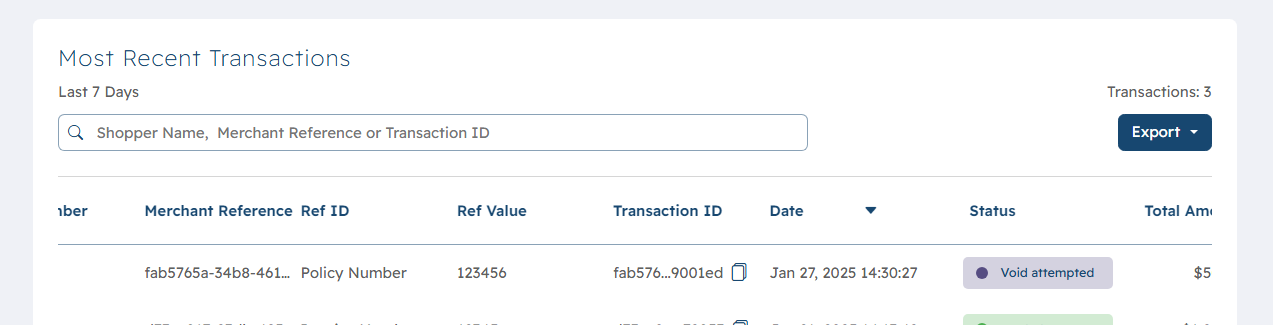
The updated Status that the Voided payment is now updated to Void Attempted- meaning the void request is being processed.
Once the VOID is complete the updated status will be Voided.

Note: The option to void is available because there is a set close time for that days batch of transactions. This is standardly set to 11pm local time. This means any transactions that happen before 11pm will be included in that days batch and will follow the normal T+2 funding timeline. If a transaction happens after 11pm, it will be included in the next days batch.
If you need assistance or have any further questions, please click here to contact our support team.